
Here’s how to setup a Slack helpdesk channel
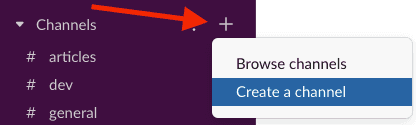
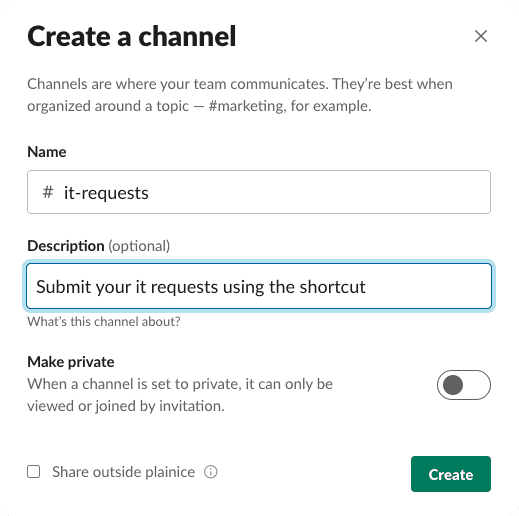
Create a new Slack channel
Change Slack channel posting permissions
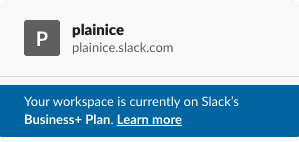
Changing channel permissions is only available if your have the Business+ plan or greater in Slack
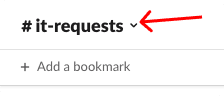
- Open the settings by clicking the down arrow next to it’s name.
Open Slack channel settings - Navigate to the settings tab and select edit on the posting permissions section.
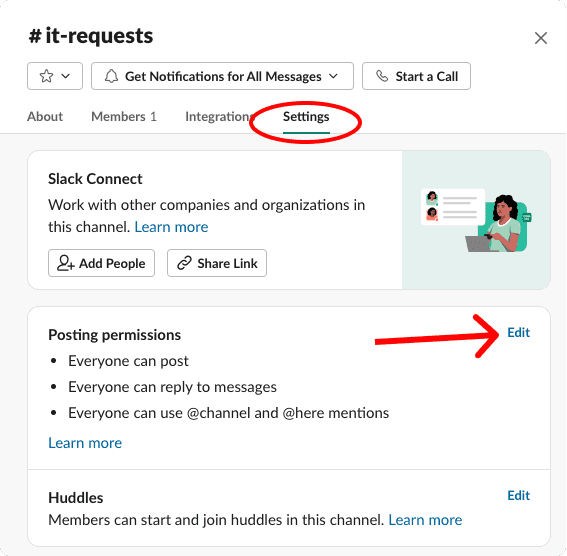
Choose the edit button - Select admins only
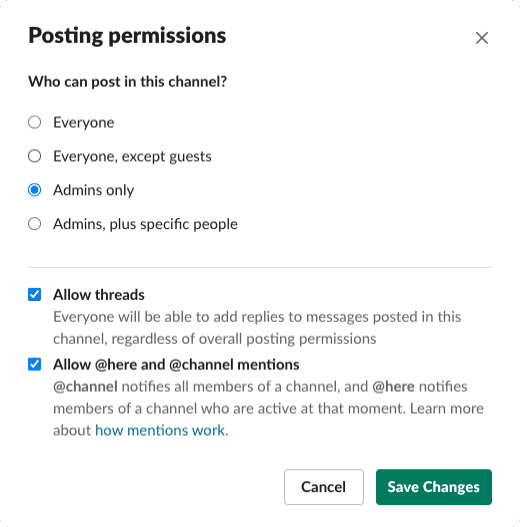
Changing posting permissions to Admins only
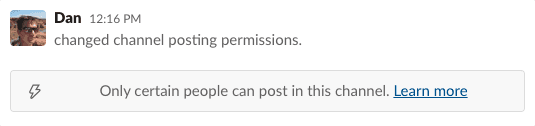
Once you’ve limited the posting permissions, the chat box will be disabled for other non admin users. However, they’ll still be able to start threads on messages.
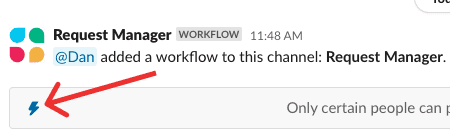
In the next section, we’ll go throw what needs to be done to get the Slack shortcut (lightning bolt) setup.
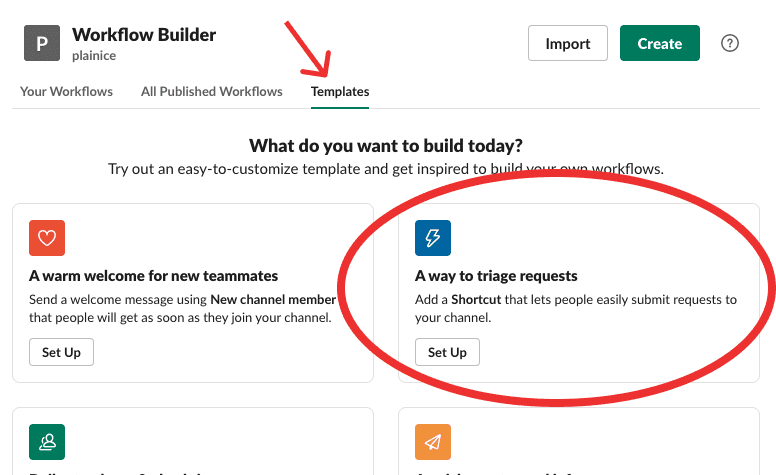
Add a helpdesk shortcut workflow
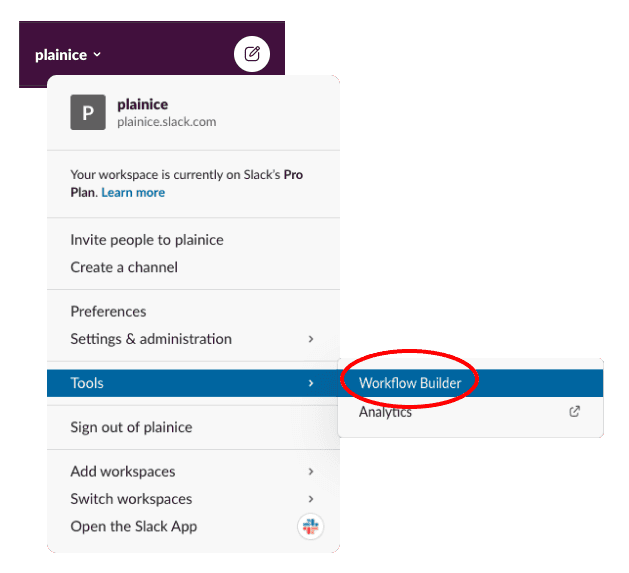
Open the workflow builder in Slack
It’s located in the tools submenu from the top left hand workspace dropdown (see screenshot).
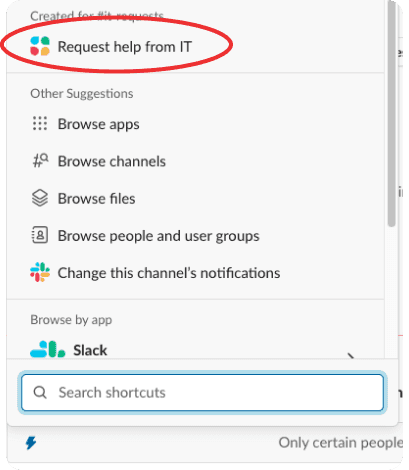
Choose templates from the top navbar
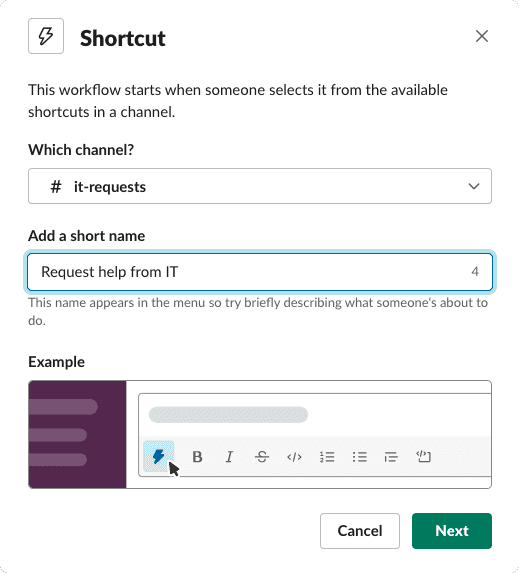
Choose the #it-requests channel you created above and hit “Next”
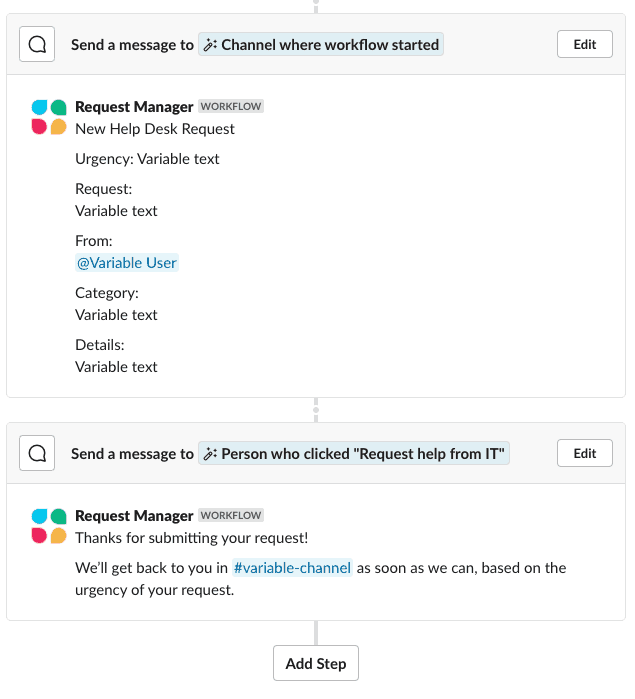
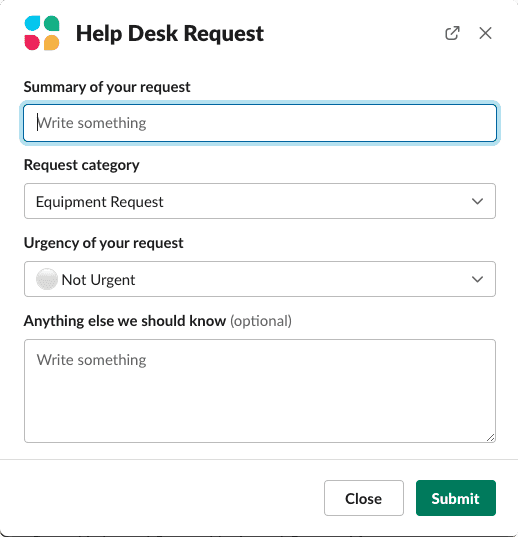
Slack will open up the workflow steps for your helpdesk shortcut.
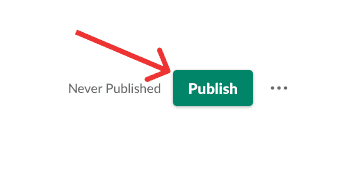
After making adjustments, make sure you hit publish.
Using the shortcut from Slack channel
Creating a helpdesk rotation
Install Tellspin
- Click “Add to Slack” on Tellspin’s home page
Slack will prompt you to approve some permissions. Tellspin follows the “least privileged” principle, only requesting permission it absolutely needs to function.
- Tellspin will send a welcome message
- Click “Create a schedule” button

Onboarding message in Tellspin
You can also make a new schedule from Tellspin’s Home screen.
- Insert the @mention in your helpdesk message workflow step.
When the message is posted in Slack, Tellspin will contact the person on rotation via Slack’s built-in contact methods.